
react native upload image to php server
in this video tutorial i am going to explain you how you can upload image into the folder and also the mysql database.


in this video tutorial i am going to explain you how you can upload image into the folder and also the mysql database.
What we are doing in this project : We would store the image into a folder created in our hosting server root directory and after successfully done the uploading process we would store the complete image URL(Path of Server) into MySQL database using PHP scripting language after that we would show a response message to user in react native application.
List of React Native libraries used in this project :
- react-native-image-picker : To pick image form gallery or camera.
- rn-fetch-blob : Send selected image to server.
Contents in this project React Native Upload Image to Server using PHP MySQL-Store Image URL in Database iOS Android Example Tutorial:
1. Installing the react-native-image-picker library :
1. Before getting started we need to install the react-native-image-picker library in our current project. To install the react-native-image-picker library you need to open your react native project folder in Command Prompt or Terminal and execute below command .
npm install react-native-image-picker@latest --save
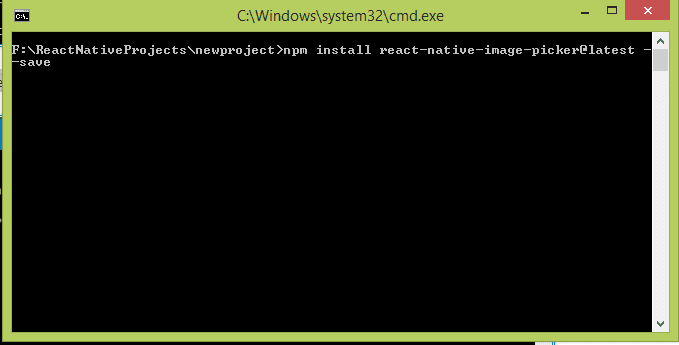
After executing the above command it will start downloading and installing the react-native-image-picker library. Below is the screenshot of CMD after successfully install the library.
After installing the library we need to execute the react-native link command , This command will refresh and re-index the complete react native project folder and index the react native image picker library in your current project
Configure Project for Android devices :
Open build.gradle file present in your folder located in YourReactNativeProject/android
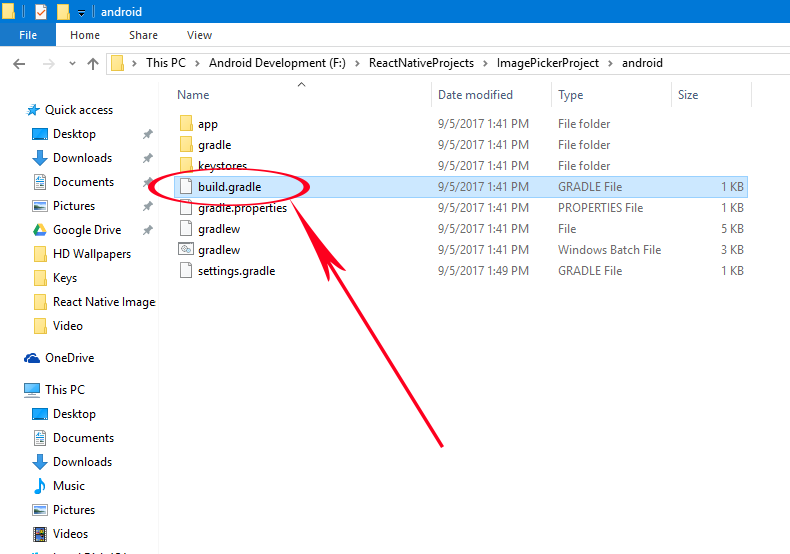
Replace classpath ‘com.android.tools.build:gradle:2.2.+’ on previous line.
Now open YourReactNativeProjectFolder/android/gradle/wrapper/gradle-wrapper.properties file and replace previous distributionUrl line to
this distributionUrl=https\://services.gradle.org/distributions/gradle-2.14.1-all.zip .Below is the complete source code of gradle-wrapper.properties file.
Finally Open AndroidManifest.xml file present inside YourReactNativeProjectFolder\android\app\src\main and Add CAMERA permission and WRITE_EXTERNAL_STORAGE permission. Below is the final code of AndroidManifest.xml file.
<manifest xmlns:android="http://schemas.android.com/apk/res/android"
package="com.imagepickerproject"
android:versionCode="1"
android:versionName="1.0">
<uses-permission android:name="android.permission.INTERNET" />
<uses-permission android:name="android.permission.SYSTEM_ALERT_WINDOW"/>
<uses-permission android:name="android.permission.CAMERA" />
<uses-permission android:name="android.permission.WRITE_EXTERNAL_STORAGE"/>
<uses-sdk
android:minSdkVersion="16"
android:targetSdkVersion="22" />
<application
android:name=".MainApplication"
android:allowBackup="true"
android:label="@string/app_name"
android:icon="@mipmap/ic_launcher"
android:theme="@style/AppTheme">
<activity
android:name=".MainActivity"
android:label="@string/app_name"
android:configChanges="keyboard|keyboardHidden|orientation|screenSize"
android:windowSoftInputMode="adjustResize">
<intent-filter>
<action android:name="android.intent.action.MAIN" />
<category android:name="android.intent.category.LAUNCHER" />
</intent-filter>
</activity>
<activity android:name="com.facebook.react.devsupport.DevSettingsActivity" />
</application>
</manifest>
this is for not use rn fetch blob
const formData = new FormData();
            formData.append('image', {
              uri: this.state.imageURI,
              name: 'my_photo.png',
              type: 'image/png'
            });
            formData.append('Content-Type', 'image/png');

            fetch('http://www.url.com/upload.php',{
                method: 'POST',
                headers: {
                    'Content-Type': 'multipart/form-data',
                  },
                  body: formData
              })
              .then((response) => response.json())
              .then((responseJson) => {
                 console.log(responseJson);
                })
                .catch((error) => {
                    console.log(error);
                  });
            });