
What is ScriptCase ?
ScriptCase is a complete development tool. Having a friendly web interface, ScriptCase creates PHP applications extremely fast, with quality. Builded to save your time, reduce your costs, gain productivity and integrating your development team. You’ll be able to create many types of applications like Grid, Chart, Form, Calendars and many other applications that ScriptCase offers. Installing on a web server, ScriptCase can be accessed simultaneously by many developers through the browser, allowing remote and collaborative development. The source code is in PHP and it works independently of the tool, allowing your deployment to work on any Web Server if it supports PHP.


 : This button allows you to select a directory or create a new folder.


ScriptCase is a complete development tool. Having a friendly web interface, ScriptCase creates PHP applications extremely fast, with quality. Builded to save your time, reduce your costs, gain productivity and integrating your development team. You’ll be able to create many types of applications like Grid, Chart, Form, Calendars and many other applications that ScriptCase offers. Installing on a web server, ScriptCase can be accessed simultaneously by many developers through the browser, allowing remote and collaborative development. The source code is in PHP and it works independently of the tool, allowing your deployment to work on any Web Server if it supports PHP.
Installer for Windows
ScriptCase’s installer is an executable file for Windows. An application that automatically extracts the APACHE, PHP and SCRIPTCASE configuration to your operating system.
Supported Operational Systems:
- Windows Server
- 2008 SP2
- 2008 R2 SP1
- 2012
- 2012 SP2
- 2016
- Windows
- 7 SP1
- Vista SP2
- 8
- 8.1
- 10
For Windows 7, it is required to have the modules below installed:- Microsoft Redistributable Visual C++ Packages (2008, 2012, 2013, 2015).
- Service pack 1.
That is what will be installed automatically on your Operating System:
- Apache Web Server 2.4.15
- PHP 7.0 with the extensions mbstring, zip and gd enabled.
- Source Guardian 11.0.6
- Scriptcase 9
Before proceeding with the installation, it is recommended don’t have any other web environment (XAMP, Zend Server, etc.) installed on the operating system. We recommend using the SQLite database for the ScriptCase installation.
This manual describes the ScriptCase installation in 2 steps:
- 1: Select the installer configurations.
- 2: Execute ScriptCase.
Selecting the configurations on the installer
1 - Selecting the language of the installation.
- Language: We can select the language in which the content will be displayed in the installation process. This step doesn’t select the language for the ScriptCase interface, only for the installation.
Click on Ok to continue.
2 - “Welcome” Message.
This window displays the installer “Welcome” message.
Click on Next to continue.
3 - License Agreement.
- Do you accept this license?: You should accept the terms before continuing.
Click on Next to continue.
4 - Installation Directory.
The predetermined installation path is “C:\Program Files (x86)\NetMake\v9". Don’t change this path unless it is necessary.
- Installation Directory: Define the installation path for ScriptCase.
: This button allows you to select a directory or create a new folder.
Click on Next to continue.
5 - Apache Configuration.
- Port: This option will define on which port the Apache service will run. We recommend use the predetermined value.
- Administrator Email: This email will be for the Apache administrator. It is an Apache configuration, not from ScriptCase.
- Apache Domain: The Apache Domain should be defined here. We recommend use the predetermined value.
- PHP Timezone: Select your Timezone.
Click on Next to continue.
6 - Ready to Install.
Click on Next to install ScriptCase.
- Progress Bar: Displays the overall progress of installation.
7 - Allow the Apache to run in a private and public network (Firewall)
You should check the two options so that the execution of the ScriptCase’s Apache can work on your Operating System.
8 - Completing the Installation.
- View “Readme” File: When clicking on finish, will be displayed the “Readme” file.
- Open Scriptcase 9.0: When clicking on finish, ScriptCase will start.
Click on “Finish” to complete the process.
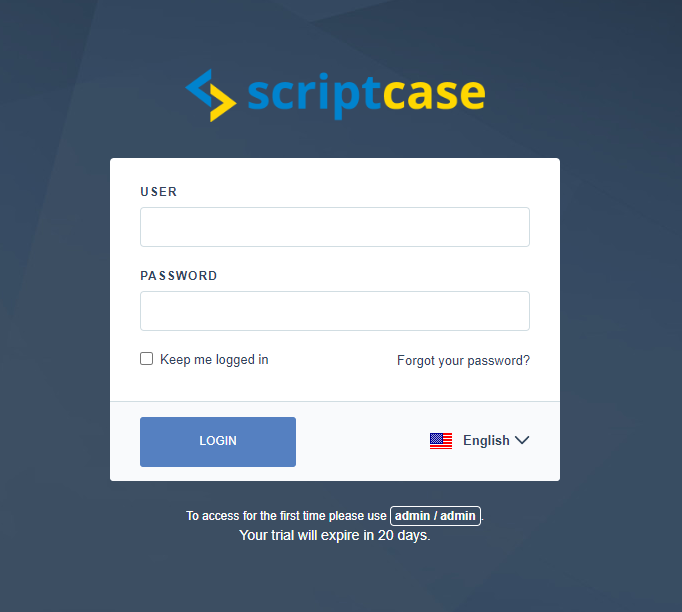
Using Scriptcase
To access your ScriptCase, open the browser and inform the local IP and the port that you informed in the beggining of the installation (Apache Configuration). Ex:
http://127.0.0.1:8090/scriptcase
